
EASTER
SHADOW BOX SECTION 5: FLOWERS OF SPRING
PART
1: TRUMPET DAFFODILS

To
make things easier on myself I am adding flower tuts separately over the next
few days. When they are done they will
be shown, in place, to fill section 5 of the shadow box.
We
will start with Trumpet Daffodils, the most popular variety of Narcissus. Their large, showy blooms are one of the
first flowers to arrive in the spring.
As in real life, Daffodils are beautiful “growing” in our miniature gardens and displayed
as bouquets, alone or in flower arrangements in the home. The most common color is yellow…either one
solid color or a bright, golden yellow
for the trumpet and a pale shade of yellow for the petals. As seen here, they are all one color. These
can vary in size but the trumpet part is usually as long as, or longer than the
petals.
---------------

You will
need: size #24 cloth covered wire + a golden-yellow & a leaf green acrylic/craft
paint + wire cutters + lightweight yellow paper + round toothpicks + tacky glue
+ small sharp craft scissors + paper
punch with approx. 3/16” long petal/leaf or diamond shape + very small seed beads + leaf green medium
weight paper
Instructions:
Cut
wire to lengths slightly longer than what you want the finished height of your
flowers to be. Dip about 3/32” of one
end of each wire into golden-yellow acrylic paint to form the stamen. Poke the other end into a scrap of Styrofoam,
or what-have-you, while the paint dries.
You will need one prepared wire for each daffodil.

The
trumpets (center) of the daffodil are as long as or longer than the
petals. Cut a long strip of lightweight,
yellow paper, 3/16” to ¼” high. Scrape a
knife or scissor blade back and forth across one long edge of the paper strip
to make it rough or ragged.

Wrap
the beginning of the strip around the center of a round toothpick, overlap a
bit, cut off excess and glue the overlap to form a tube/trumpet.

Remove
the trumpet from the toothpick & tightly fringe around its bottom edge
(smooth end), about 1/3 of the way up.

Insert
trumpet back on toothpick with fringed end towards point. Using toothpick to shape, pinch and squeeze fringed
area until a bell shape is formed.

Remove
trumpet from toothpick and put a dab of glue around inside trumpet bottom. Insert a prepared wire/stem so yellow center
is about 1/3 of the way up the trumpet.
Squeeze & smooth glued area of trumpet around wire. Set aside to dry.

When glue has set, use scissors to finely fringe
around top (rough) edge of trumpet about 1/64” deep. Use fingertips to push back fringe to a right
angle to trumpet. If desired, a dark
yellow water
color pencil or felt-tipped pen may be used to dab on a bit of color around
outside edge of fringed lip.

Insert a tiny seed bead (look for the smallest
ones that will slip onto wire used) onto the stem and push it up just so it sits
just under the trumpet. Paint it and the
wire green.


For
petals, punch 6 diamond or oval petal shapes from the same yellow paper (or
pale yellow if desired). I used the approx..
3/16” long, oval petals from Martha Stewarts Deep Edger Floral Vine paper punch
punch image http://www.amazon.com/Martha-Stewart-Crafts-Edger-Floral
It
is a bit pricey but lots of usable shapes on it and it punches like butter.

Lay the
petals in the palm of your hand and use a small round stylus or the pointed end
of a metal nail file to “draw” three lines on it with medium pressure. Petals will curl-up up slightly, giving them
dimension. Pick up petals at one tip
with pointed tweezers and dip the other end into tacky glue, picking up a
dab. Place on stem, between bottom of
trumpet and top of bead with the concave side facing up, and very slightly
pointed upward. Place three petals
spaced evenly around trumpet and then one in between each.

Use tweezers
to bend the stem just short of a right angle just under the bead.

For a
daffodil almost in bloom, add the petals so they hug the trumpet. For buds, eliminate the seed beads and with
glue wrap 2-4 petals tightly around the wire.
Make a wash of tan color acrylic craft paint & water and lightly
feather it from the stem up onto the end of the bud. This wash may also be used on the upper stem &
bead parts of the full flowers.

Daffodil
leaves are tall, slim, and fairly straight.
They have slightly rounded off tops.
Fold a piece of green paper and cut very thin, long shapes on the fold.
Slightly open on the top half of the fold.
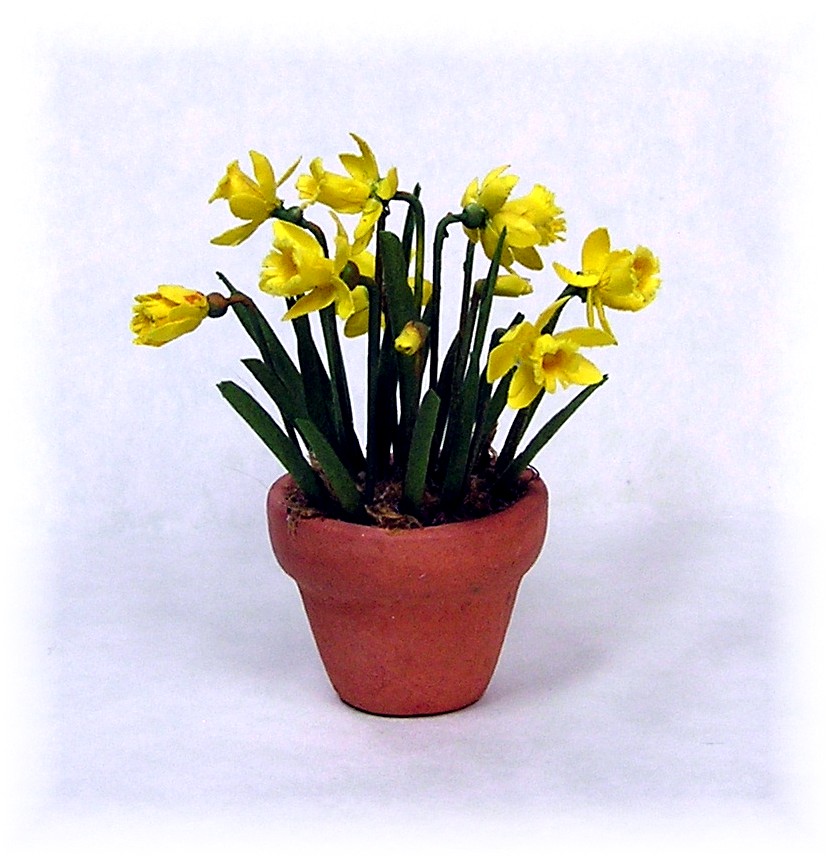
Daffodils may
be planted in pots as is seen here, planted in a landscape, or used in flower arrangements
by themselves or with other flowers.
Plant surrounded by leaves, which should be of a height just short of
the blossom or shorter. I used a large
clay pot filled with unbaked Fimo. The
Fimo was coated with a layer of glue and fine dust (bottom of package?) from sphagnum
moss was pressed on. Holes were poked in
the “soil” to take the stems and leaves.
---------------
Here are some
real-life images to help inspire you to add miniature daffodils to your
collection.

An Asian inspired table arrangement.
-------------

A simple bouquet of daffodils in a clear vase makes a showy statement.
--------------

A garden basket full of fresh cut daffodils can be displayed indoors or outdoors.
-------------

Fill a bucket or watering can with fresh cut daffodils to display in a garden room or on a potting bench.
------------
And we will end with one more photo of the 1" = 1' potted daffodils.
--------------
Ummm, I can smell the spicy fragrance of the vase of daffodils sitting on my desk. And it is really fun to look at its miniature version sitting next to them. Wonder if I could find some way to make them smell as good?
Enjoy the tut and I will see you shortly with another flower.
Happy Spring....
Joann
===========
Hi Joann, thank you for this helpfull and clear tutorial. With these daffodils in my doll's house; spring will be marching in!
ReplyDeleteYour daffodils are perfect. Thanks for this tutorial.
ReplyDeleteGreetings, Faby
How beautiful! Thank you for a wonderful tutorial.
ReplyDeleteHugs, Drora
Thanks for sharing! I love your blog! Will try some daffodils of my own when I get the time =)
ReplyDeleteHannah
A great tutorial as usual. =)
ReplyDeleteHugs.
Hello Joann,
ReplyDeleteThank you so much for this tutorial. they are one of my favourite flowers and you edid an incredible job.
Big hug,
Giac
Hello Joann! What beautiful and believable daffodils! You have made them so true to life and I thought when I first saw them that they WERE real!
ReplyDeleteelizabeth
Beautiful--and so well written, that my very first one turned out perfect! Thanks for showing us how to do these--and so many other things!
ReplyDeleteFantastic tutorial!! Thank you very much!!!
ReplyDeleteGreetings
Melanie
Joann, the silence is deafening!
ReplyDeleteI miss the inspiration from your projects. I'm just hoping all is well and you will be back with us soon.
Bonnie
Dear Joann,
ReplyDeleteYou are missed.!!
Kathleen in Houston
Size Tükiye' den sesleniyorum. Harikasınız. Öğretici çalışmalarınız için çok teşekkür ediyorum.
ReplyDeleteMuy bonito y muy didactico.
ReplyDeleteGracias
Thanks for all the nice items you worked out for us.
ReplyDeleteGreets Anke from Holland
I would like to thank you for the efforts you have put in writing this site. I am hoping the same high-grade website post from you in the upcoming as well. In fact your creative writing skills has inspired me to get my own site now. Really the blogging is spreading its wings quickly. Your write up is a good example of it.
ReplyDeletecold room energy reduction products
Nice Blog!
ReplyDeleteDiscover the power of holistic healing with our personalized program that blends therapies for the mind, body, and spirit. Achieve balance and inner peace through tailored practices and expert guidance.
https://ranjeetkauradlakha.com/personal-healing-program/